 Site
How to Switch WordPress Maintenance Providers
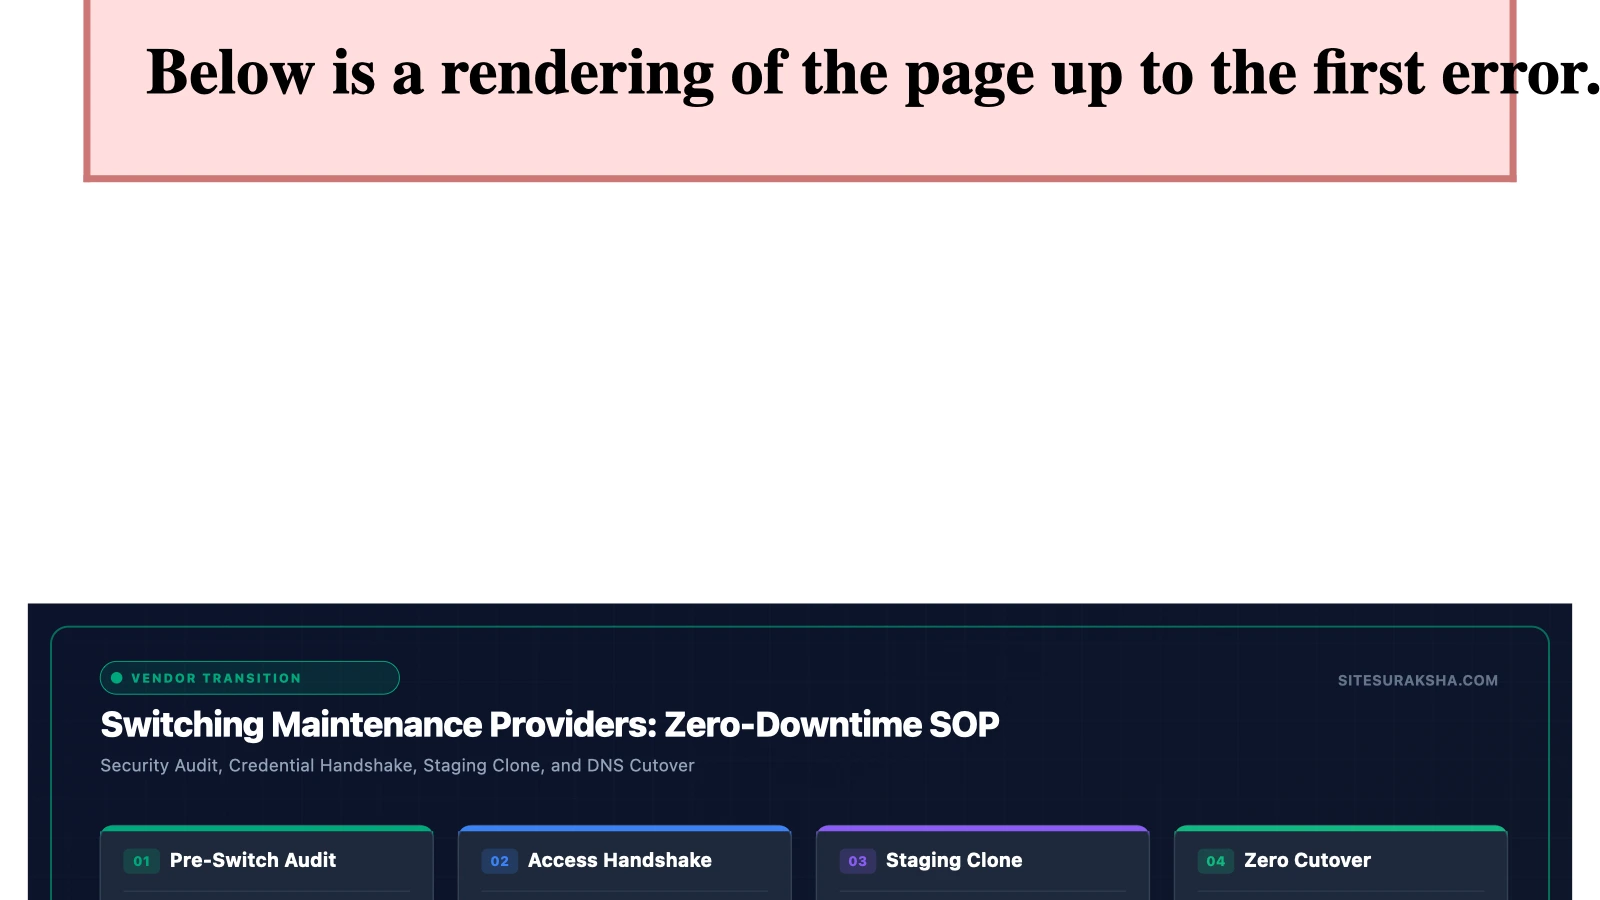
Technical Migration Framework: Transitioning WordPress Maintenance Providers Without Vulnerabilities or Downtime
Migrating a mission-critical WordPress instance between maintenance providers involves complex handovers of infrastructure access, cryptographic keys, database management, and runtime security controls. When organizations execute this transition haphazardly, they frequently introduce severe vulnerabilities, including orphaned administrative accounts, exposed API keys, broken file permissions, and unmonitored DNS configurations. A secure transition strategy requires treating the provider switch as a formalized systems migration, enforcing strict access verification, zero-downtime execution paths, and post-migration validation checks.
This technical guide establishes a rigorous, step-by-step framework for engineering teams and system administrators tasked with migrating WordPress maintenance operations to SiteSuraksha. Every phase focuses on maintaining runtime availability, preserving data integrity, and establishing a hardened security posture from the moment the legacy vendor is offboarded.
Root Cause Analysis: Vulnerabilities and Risks During Provider Transitions
Transitioning between managed service providers introduces unique attack vectors and operational hazards. Understanding the underlying mechanics of these risks allows administrators to mitigate them prior to executing the migration.
Chat with an engineer on WhatsApp within 15 minutes.
1. Privilege Creep and Orphaned Credentials
Outgoing agencies often provision multiple administrative accounts, SSH keys, SFTP credentials, and database users across the infrastructure stack. When offboarding occurs without a complete audit, forgotten backdoor accounts or legacy SSH keys remain active. Attackers frequently target these dormant pathways during transitional windows when monitoring might be temporarily disrupted.
2. DNS propagation Delays and Split-Brain States
If the migration involves shifting DNS name servers or hosting infrastructure alongside the maintenance provider change, improper Time-To-Live (TTL) configuration causes split-brain routing. During this phase, authenticated administrative requests can land on the legacy environment while visitor traffic hits the new server, resulting in database desynchronization and transactional failures for e-commerce platforms.
3. Dependency and License Blindness
Proprietary themes and plugins activated under the outgoing provider’s developer licenses often fail to update once management transfers. If the new provider does not audit active licenses immediately, core dependencies fall out of date, exposing the application to unpatched CVEs within third-party extensions.
Step-by-Step Implementation Guide for Migrating Maintenance Providers
Execute the following technical sequence to ensure a flawless, secure handoff of your WordPress architecture.
Step 1: Audit and Vault Access Credentials
Before initiating contact with your outgoing provider, catalog and secure every access vector tied to your infrastructure. Do not rely on shared password managers controlled by the outgoing agency. Establish root administrative control across all layers of the stack.
Verify your permissions across the following layers:
- Server Control Panel: Root or administrator-level access to cPanel, Plesk, DirectAdmin, or cloud provider consoles (AWS IAM, DigitalOcean, Google Cloud Console).
- DNS Registrar: Control panel access to domains (Cloudflare, AWS Route 53, GoDaddy, Namecheap) to manage A, AAAA, CNAME, TXT, and NS records directly.
- WordPress Core: Primary administrator user account with a unique email address, isolated from agency-managed administrative profiles.
- Database Access: Direct SQL management access via phpMyAdmin or secure SSH tunnel linked to MySQL/MariaDB instances.
Step 2: Generate Cryptographically Secure Independent Backups
Never trust backup archives generated or stored exclusively by the outgoing provider. Utilize WP-CLI or direct server-level commands to generate a complete backup of the file system and database, storing the artifacts in an encrypted, isolated remote cloud bucket.
Execute the following commands via SSH to export the database and archive the WordPress installation:
# Navigate to the WordPress web root directory
cd /var/www/html

# Export the MySQL database securely with table prefix verification
wp db export production-migration-snapshot.sql --allow-root

# Compress the entire WordPress installation excluding cache and error logs
tar --exclude='wp-content/cache' --exclude='*.log' -czf wordpress-filesystem-snapshot.tar.gz .

# Generate an SHA-256 checksum to verify file integrity during transfer
sha256sum wordpress-filesystem-snapshot.tar.gz production-migration-snapshot.sql > migration-checksums.txt
Step 3: Deploy SiteSuraksha Security Agents and Telemetry
To establish continuous threat monitoring before full operational handover, integrate SiteSuraksha’s security and telemetry suite into the active WordPress instance. This step ensures continuous auditing while the legacy provider is still finishing their contract.
Install and configure the SiteSuraksha monitoring agent via WP-CLI:
# Install the SiteSuraksha core security and telemetry plugin from the private repository
wp plugin install https://repo.sitesuraksha.com/plugins/sitesuraksha-guard-latest.zip --activate --allow-root

# Configure the API telemetry key for real-time threat intelligence syncing
wp option update sitesuraksha_api_key "ss_sec_live_9f88c2b7a4e11e0394" --allow-root

# Force an immediate baseline file integrity scan
wp sitesuraksha scan run --force --allow-root
Step 4: Execute Configuration Hardening
While onboarding with SiteSuraksha, harden your `wp-config.php` file to disable file editing, restrict execution paths, and enforce strict database query logging:
/**
 * SiteSuraksha Hardened Configuration Directives
 */
define( 'DISALLOW_FILE_EDIT', true );
define( 'DISALLOW_FILE_MODS', false ); // Managed via SiteSuraksha staging workflows
define( 'FORCE_SSL_ADMIN', true );
define( 'WP_AUTO_UPDATE_CORE', false ); // Managed by SiteSuraksha release pipeline

// Security Salt Keys Rotation
define( 'AUTH_KEY',         'put_your_unique_phrase_here' );
define( 'SECURE_AUTH_KEY',  'put_your_unique_phrase_here' );
define( 'LOGGED_IN_KEY',    'put_your_unique_phrase_here' );
define( 'NONCE_KEY',        'put_your_unique_phrase_here' );
define( 'AUTH_SALT',        'put_your_unique_phrase_here' );
define( 'SECURE_AUTH_SALT', 'put_your_unique_phrase_here' );
define( 'LOGGED_IN_SALT',   'put_your_unique_phrase_here' );
define( 'NONCE_SALT',       'put_your_unique_phrase_here' );
Step 5: Revoke Outgoing Provider Access and Purge Credentials
Once SiteSuraksha confirms that firewalls, backup routines, and monitoring agents are functioning correctly, systematically revoke all legacy access credentials. Execute the following administrative checks:
- Delete all user accounts associated with the outgoing agency from the WordPress Users table. If an agency email domain remains, reassign any orphaned posts to a verified internal administrator account using WP-CLI:
wp user reassign [old_user_id] [new_user_id] --allow-root. - Rotate all SSH public keys stored within the
~/.ssh/authorized_keysfile on the server. - Change database passwords and revoke external user grants in MySQL:
DROP USER 'legacy_agency'@'localhost';. - Revoke API tokens, AWS IAM access keys, and third-party webhook integrations previously shared with the outgoing team.
Production Hardening, Caching Conflicts, and Edge Cases
During the transition to SiteSuraksha, administrators must account for server-level caching layers (such as Redis, Memcached, Varnish, or Cloudflare Edge Caching) that can serve stale administrative tokens or broken assets if not purged correctly.
When updating web application firewalls (WAF) and security rule sets, ensure that REST API endpoints used by WooCommerce, mobile applications, and payment gateways (Stripe, PayPal webhooks) are explicitly whitelisted to prevent false-positive blocks during checkout flows.
To validate that file permissions are properly secured following the transition, run the following diagnostic shell commands:
# Set secure directory permissions across the WordPress root
find /var/www/html -type d -exec chmod 755 {} \;

# Set secure file permissions, locking down sensitive configuration files
find /var/www/html -type f -exec chmod 644 {} \;
chmod 400 /var/www/html/wp-config.php

# Assign correct ownership to the web server user (e.g., www-data or nginx)
chown -R www-data:www-data /var/www/html
Diagnostic Verification Matrix
Perform the checks outlined in the verification matrix below to confirm that your WordPress environment is fully secured and operational under SiteSuraksha management.
| Verification Check | Diagnostic Method / Command | Expected Result / Target Metric |
|---|---|---|
| File Integrity Baseline | wp sitesuraksha scan status --allow-root |
Zero modified core files; checksum verification passed. |
| WAF Rule Evaluation | HTTP request test via curl -I -X POST https://yourdomain.com/?author=1 |
HTTP 403 Forbidden response blocking user enumeration. |
| Orphaned Account Audit | wp user list --role=administrator --allow-root |
Only verified internal and SiteSuraksha administrative accounts present. |
| Automated Backup Verification | SiteSuraksha Cloud Dashboard -> Backup Logs | Successful AES-256 encrypted remote backup completed within 24 hours. |
| SSL/TLS Handshake Integrity | openssl s_client -connect yourdomain.com:443 -tls1_3 |
Valid cipher suites, TLS 1.3 active, certificate chain fully trusted. |
Is Your Website Fast & Secure?
Run an instant scan for security vulnerabilities, bloated plugins, and TTFB latency.
Need Help Securing or Speeding Up Your Site?
Get 24/7 proactive security WAF, daily cloud backups, and sub-second speed optimization from ₹3,470/mo.